

Table of Contents
使用1000W红外灯以进行有效加热
红外供暖技术近年来由于其效率和成本效益而变得越来越流行。红外加热器最常见的类型之一是1000W红外灯,它使用碳纤维加热管作为加热元件。这种类型的加热器为住宅和商业应用提供了许多好处。
使用1000W红外灯的主要优点之一是其能源效率。与依靠对流加热空间的传统供暖系统不同,红外加热器将热量直接发射到房间中的物体和人员上。这意味着减少能量会浪费在加热空气,从而产生较低的能源费用和更舒适的环境。
除了节能外,1000W红外灯也很快加热。与传统的加热器可能需要一段时间才能达到所需的温度,红外加热器在打开后立即提供即时热量。这使它们非常适合需要快速加热的空间,例如车库,车间或室外露台。
使用1000W红外灯的另一个好处是它的多功能性。这些加热器具有多种形状和尺寸,使其适用于广泛的应用。无论您是需要加热一个小房间还是大仓库,都有1000W红外灯可以满足您的需求。这些加热器中使用的碳纤维加热管旨在承受高温和频繁使用,以确保您的加热器将在未来几年内继续有效地性能。从长远来看,这种耐用性使它们成为一种具有成本效益的加热解决方案。
如何在红外加热元件中更换碳纤维加热管
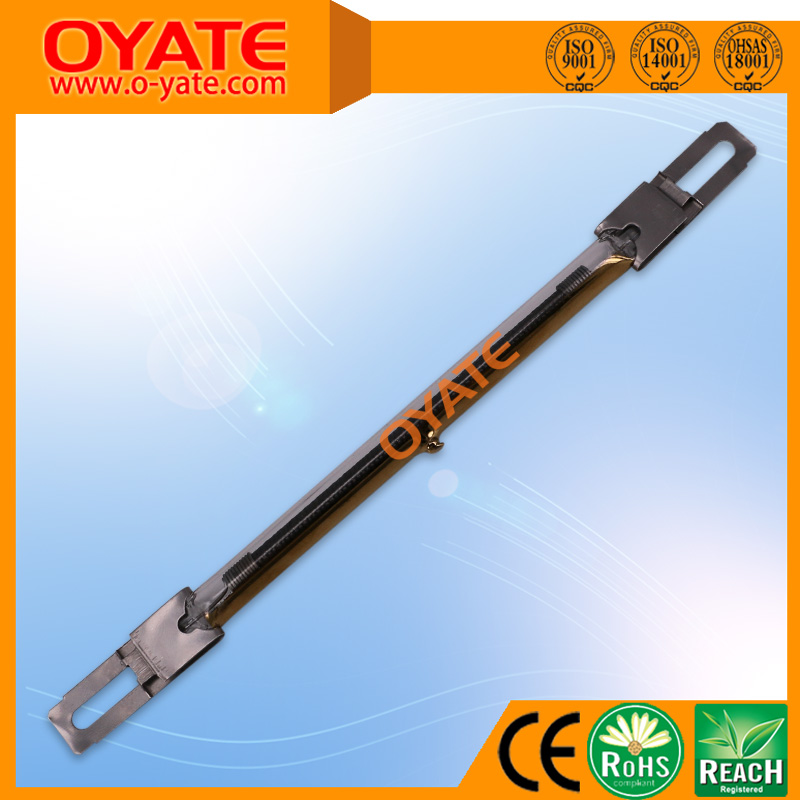
商品名称
碳纤维加热灯
品牌
| oyate | 第一步是将碳纤维加热管定位在加热元件中。该管通常位于防护盖或外壳后面。卸下将盖子固定到位的所有螺钉或紧固件,然后小心地将其放在一边。请确保跟踪任何螺钉或紧固件,以便以后可以重新连接。
卸下盖后,您将可以使用碳纤维加热管。仔细检查管是否有损坏或磨损的迹象。如果管状况良好,则可能只需要在重新组装加热元件之前将其清洁即可。但是,如果管受损或磨损,则需要更换它。请注意这些电线的连接方式,以便您以后可以正确重新安装它们。电线断开连接后,您可以从加热元件中卸下旧的加热管。使用在拆卸过程中卸下的任何螺钉或紧固件将管固定到位。将电线或连接器重新连接到新管,以确保它们牢固地连接。使用较早卸下的螺钉或紧固件将盖子固定在适当的位置。盖上盖上盖上,您可以插入加热元件并将其打开以测试新的加热管。通过遵循本文概述的步骤,您可以确保您的加热元素继续效率高效。请记住,如果您不确定替换过程的任何方面,请始终优先考虑使用电气组件并咨询专业人员。 |
| Brand | OYATE |
The first step is to locate the carbon fiber heating tube within the heating element. This tube is typically located behind a protective cover or housing. Remove any screws or fasteners holding the cover in place and carefully set it aside. Be sure to keep track of any screws or fasteners so that they can be reattached later.
Once the cover is removed, you will have access to the carbon fiber heating tube. Carefully inspect the tube for any signs of damage or wear. If the tube appears to be in good condition, you may simply need to clean it before reassembling the heating element. However, if the tube is damaged or worn out, it will need to be replaced.
To replace the carbon fiber heating tube, carefully disconnect any wires or connectors attached to the tube. Take note of how these wires are connected so that you can reattach them correctly later. Once the wires are disconnected, you can remove the old heating tube from the heating element.
When installing the new carbon fiber heating tube, be sure to align it properly within the heating element. Secure the tube in place using any screws or fasteners that were removed during the disassembly process. Reconnect the wires or connectors to the new tube, ensuring that they are securely attached.
After the new carbon fiber heating tube is installed, replace the protective cover or housing over the heating element. Secure the cover in place using the screws or fasteners that were removed earlier. Once the cover is securely attached, you can plug in the heating element and turn it on to test the new heating tube.
In conclusion, replacing a carbon fiber heating tube in an infrared heating element is a straightforward process that can be completed with basic tools and a little bit of patience. By following the steps outlined in this article, you can ensure that your heating element continues to operate efficiently and effectively. Remember to always prioritize safety when working with electrical components and consult a professional if you are unsure about any aspect of the replacement process.


